Transform Your Video: How to Make Video into Time Lapse
Time-lapse photography is an astonishingly captivating technique that allows you to view the world from a different perspective. By compressing hours, days, or even months into mere seconds, time-lapse videos reveal subtle changes and stunning transitions that the human eye might miss. In this article, we will delve into the intricate art of making videos into time lapse, focusing particularly on its application in the realms of real estate photography and commercial photography. Whether you're a seasoned professional or an enthusiastic beginner, this guide is designed to elevate your skills.
Understanding Time-Lapse Photography
Before we jump into the techniques of how to make video into time lapse, it’s crucial to understand what time-lapse photography entails. This method captures a sequence of events over time, then plays them back at a speed that reveals the beauty in transitions:
- Natural Phenomena: Watch clouds drift, flowers bloom, or the sunrise and sunset.
- Construction Progress: Showcase the development of a building from foundation to final touches.
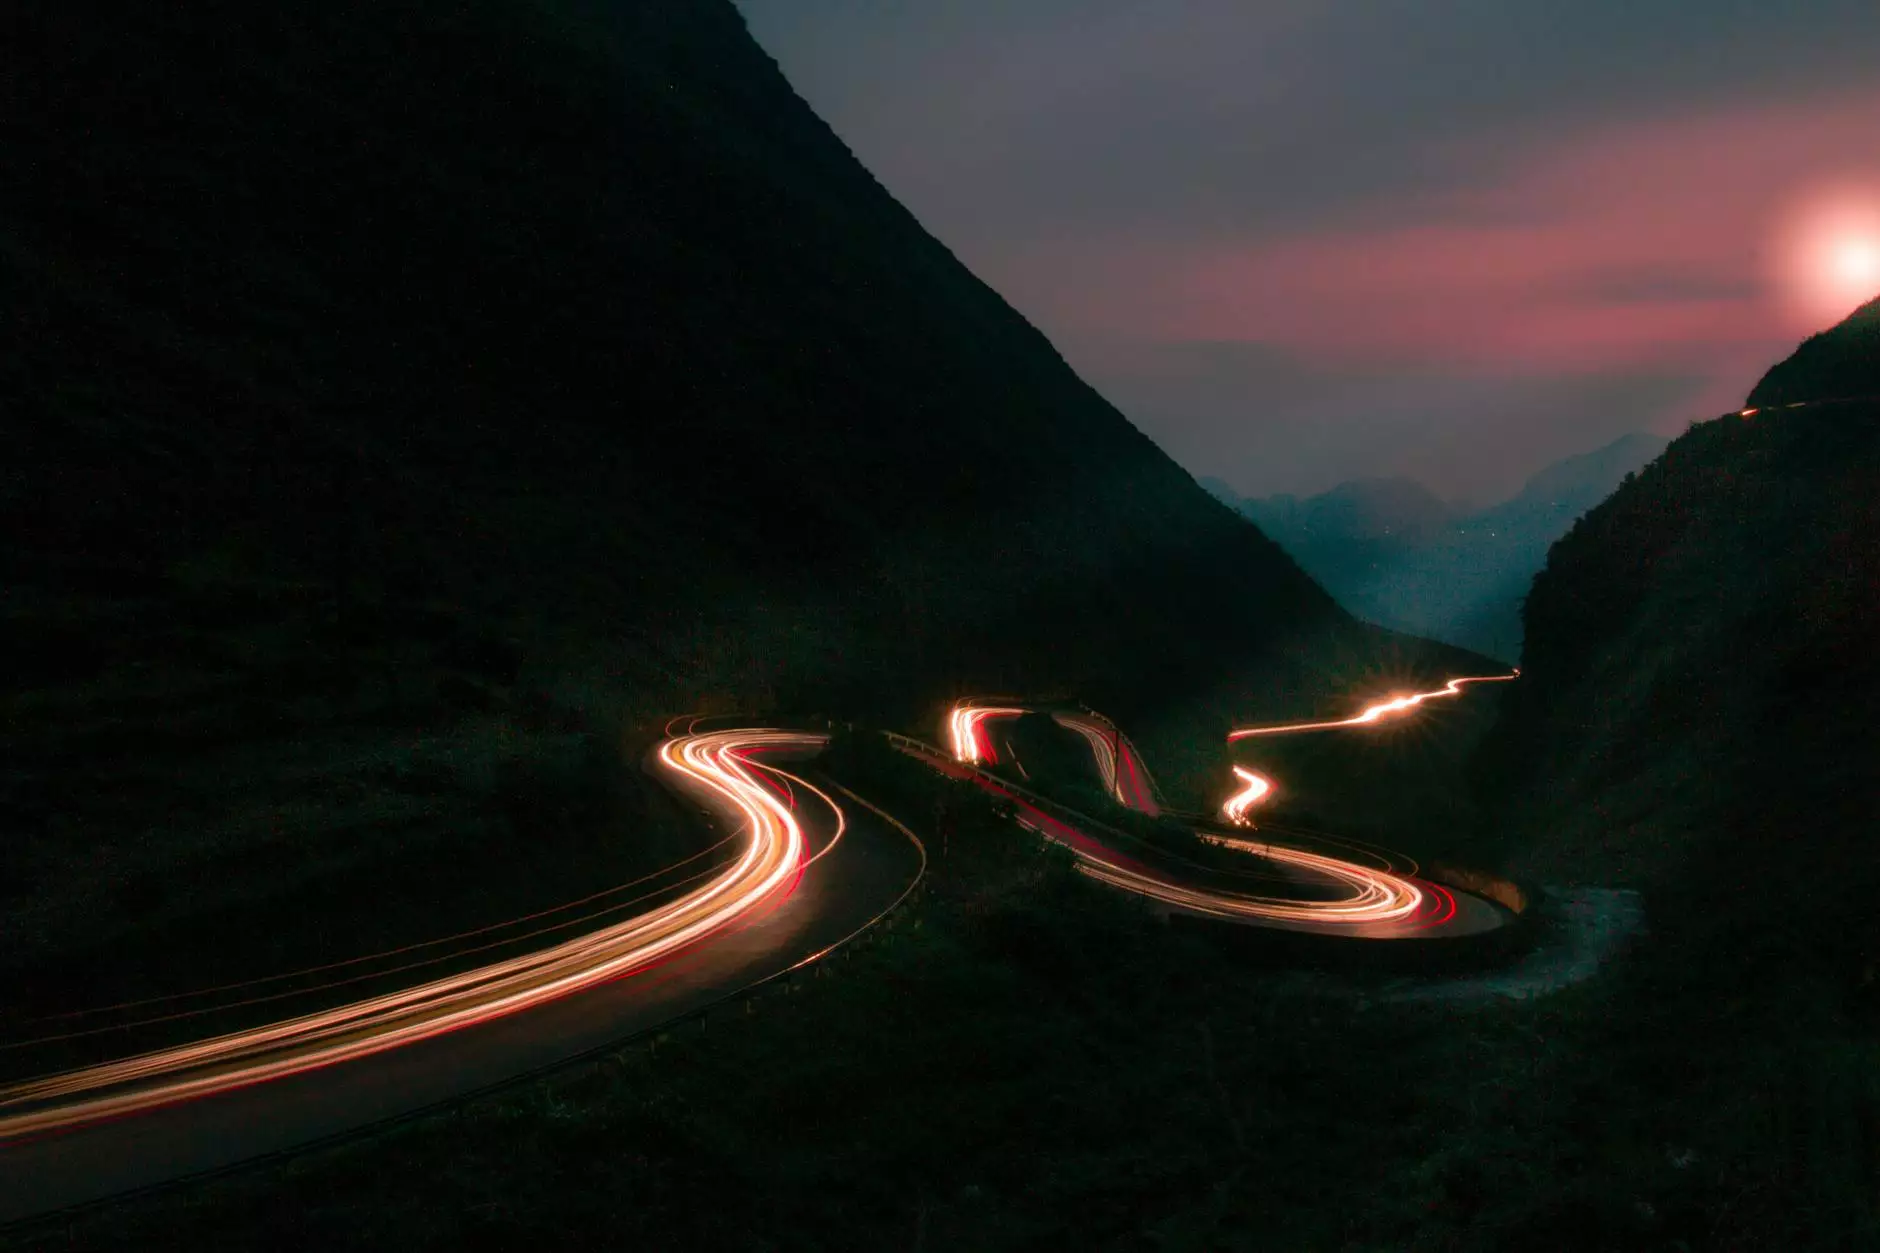
- Crowd Movement: Capture the hustle and bustle of urban life or events.
Why Make Video Into Time Lapse?
Time-lapse videos serve various purposes in photography, and understanding their unique benefits can help enhance your creativity. Here are some compelling reasons:
- Engagement: Time-lapse videos are visually appealing and draw viewers in, fostering greater engagement.
- Storytelling: They efficiently tell a story, showcasing changes and progress in an engaging manner.
- Marketing: For real estate photography, time-lapse can demonstrate the development process effectively, attracting potential clients.
Technical Aspects of Time-Lapse Photography
To successfully make video into time lapse, you need to consider several critical technical aspects:
Equipment Essentials
Your choice of equipment plays a significant role in the quality of your time-lapse video. Here are some recommended tools:
- Camera: DSLRs or mirrorless cameras with intervalometers are excellent choices.
- Tripod: A sturdy tripod is essential to maintain stability throughout the shooting process.
- Editing Software: Tools like Adobe Premiere Pro, Final Cut Pro, and specialized time-lapse software like LRTimelapse help in the editing process.
Choosing Your Subject
Deciding on what to shoot is paramount. Some of the most captivating subjects for time-lapse photography include:
- Changing weather patterns.
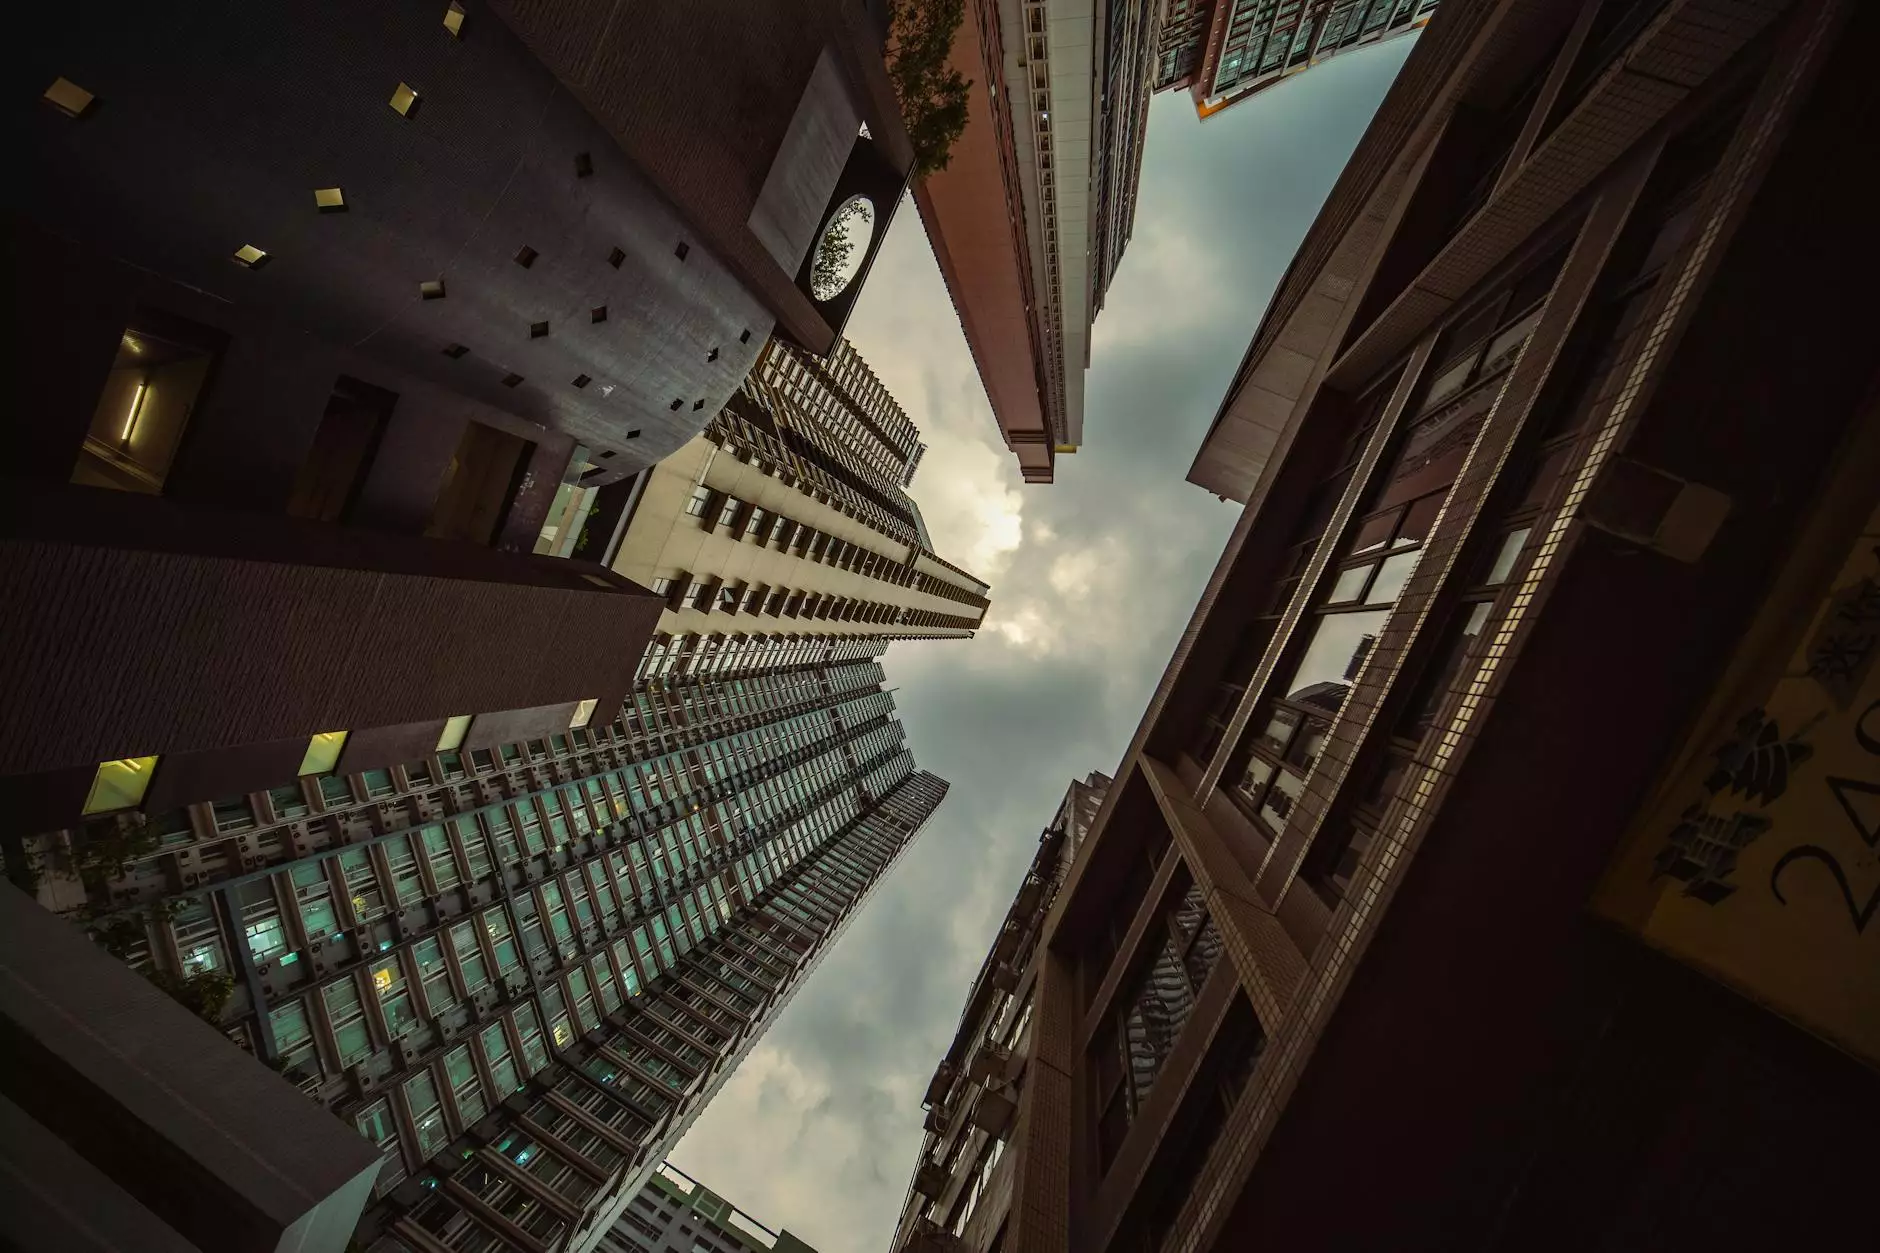
- Cities and urban landscapes.
- Natural landscapes and celestial events.
Settings for Capturing Time-Lapse Videos
To achieve the best results when making a time-lapse video, your camera settings should be optimized:
- Frame Rate: Typically, shooting at 24 or 30 frames per second will yield smooth results.
- Interval Shooting: The interval depends on the speed of the subject; for fast-moving subjects, shorter intervals are necessary.
- Aperture and Exposure: Using manual mode can help lock in exposure settings to achieve consistent brightness.
Steps to Make Video into Time Lapse
Now that you are equipped with the necessary knowledge and skills, let’s breakdown the process to make video into time lapse into easy-to-follow steps:
1. Plan Your Shoot
Effective planning can make or break your time-lapse video. Consider the following:
- Choose a visually interesting subject.
- Scout locations in advance, checking for lighting and potential obstructions.
- Determine the duration of the shoot based on your desired outcome.
2. Setup Your Equipment
Once you arrive at your location:
- Set up your tripod securely.
- Attach your camera, ensuring all connections are secure.
- Adjust your camera settings according to your planning.
3. Start Shooting
Make sure the camera is set to the desired interval and frame rate. Initiate your shoot, maintaining your position while ensuring the setup remains stable.
4. Post-Processing
After capturing your footage, the fun begins in post-production. Use your editing software to compile and speed up your footage:
- Load your images or video clips into the software.
- Select the appropriate speed settings to convert standard video into a time-lapse effect.
- Add smooth transitions, titles, and background music to enhance the viewing experience.
5. Export and Share Your Time-Lapse Video
Once you are satisfied with your edits, export the video file in a high-quality format suitable for sharing. Publish your time-lapse video on your website, social media, or real estate listings to attract and engage audiences.
Best Practices for Time-Lapse Videos in Real Estate Photography
When it comes to real estate photography, implementing time-lapse features can portray a property’s unique appeal effectively:
Highlight Property Transformations
Showcase before-and-after transformations, whether it’s a newly staged home or a home that went through renovations.
Document Outdoor Spaces
Capture the changes in gardens, landscaping, or outdoor spaces across different seasons.
Engage Potential Buyers
Utilize time-lapse videos in listings to engage potential buyers visually, offering them a broader perspective of the property’s charm.
Conclusion: The Impact of Time-Lapse on Your Photography Business
Mastering the ability to make video into time lapse can undoubtedly elevate your photography portfolio and enhance your business. By incorporating time-lapse videos, particularly in real estate photography, you create dynamic and engaging content that stands out. Whether you are capturing the essence of a bustling city or the subtle beauty of nature, time-lapse photography provides a creative outlet that can capture the imagination of your audience. At bonomotion.com, we aim to inspire and share techniques that can grow your photography skills, maximize viewer engagement, and ultimately, promote your business effectively.